Parking Lot Striping & Pavement Markings in Atlanta, Georgia
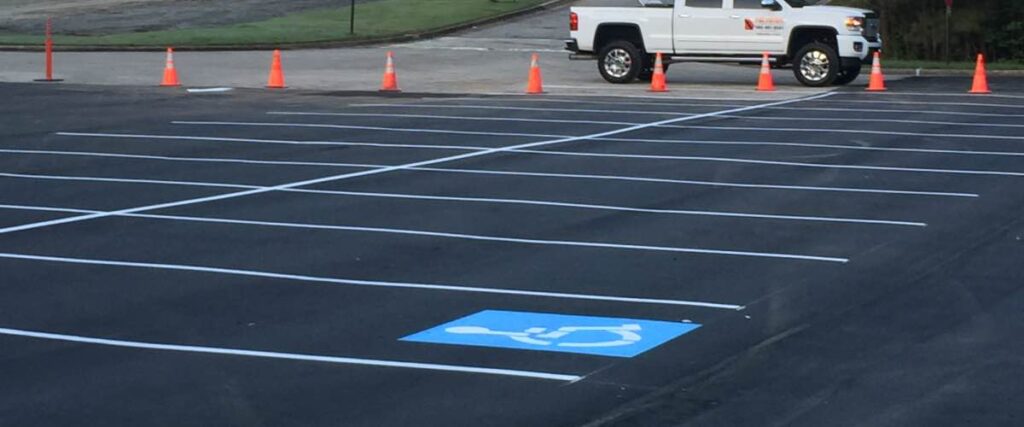
Atlanta Parking Lot Paving and Striping Services That Make a Lasting First Impression
Atlanta’s vibrant and expanding commercial sector attracts a steady flow of customers and employees to businesses throughout the region. In such a competitive environment, your property must stand out as a safe and welcoming place for all who visit.
Your parking lot plays a key role in making that first impression. So, ensure it’s both appealing and functional with upgraded parking lot pavement markings and striping.
PKS Paving’s top-tier parking lot striping and pavement markings in Atlanta are designed to enhance both vehicle and pedestrian safety at your property, helping your business thrive.
The Line Striping Procedure
At PKS Paving, our parking lot striping services and pavement marking process is backed by decades of industry expertise. Our process is tailored to meet the needs of Atlanta businesses and commercial surfaces.
Surface Prep
Our initial step in the parking lot striping process is to carefully clear and safely dispose of any debris from the existing pavement. This ensures our team can accurately apply the pavement markings for optimal efficiency and appearance.
Marking Application
Next, we apply the markings, such as lane lines, crosswalks, turn arrows, and symbols. Our contractors use specialized equipment such as paint striping machines and thermoplastic applicators to ensure appropriate coverage and precision.
Dry & Cure
Lastly, we allow the newly applied markings to dry and cure thoroughly. Once they have, normal activities can resume on the pavement.
With a commitment to precision, durability, and compliance, PKS Paving delivers parking lot paving Atlanta businesses can rely on. Our professional parking lot striping services enhance both safety and visual appeal. Trust us to make your lot stand out for all the right reasons.
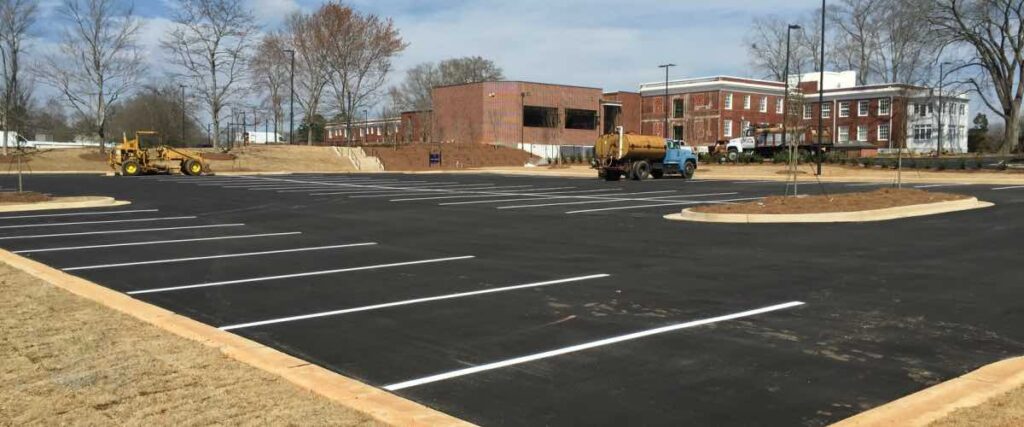
Key Benefits of Line Striping
A poorly maintained parking lot is sure to cause trouble. Without proper parking lot striping and markings, your property can become unsightly and a safety hazard for visitors.
Investing in routine parking lot maintenance and line striping shows that your business cares about customers’ experience, safety, and well-being. Plus, it will save you money in the long run by avoiding costly and frequent repairs or liability issues.
With PKS Paving’s expert parking lot striping and marking services, your business and your customers can look forward to many benefits, including:
- Improved Road Safety
- Enhanced Traffic Organization
- Increased Visibility
- Reduced Risk of Traffic Accidents
- Enhanced Aesthetics
- Efficient Traffic Movement
How Long Does it Take for Fresh Line Striping to Dry?
Worried about how long a line striping job will put your parking lot out of commission? Fortunately, parking lot restriping only needs to be done every few years. Still, we understand your concern about the potential loss of business during the drying time.
The good news is that line striping can be combined with other parking lot maintenance services to minimize downtime and optimize your time.
Typically, the drying time for a line striping job is about 2 hours after application. However, it can vary based on the following factors:
- Temperature: Drying time is faster in warmer weather. It’s best to apply fresh paint when temperatures are around 70°F and 80°F.
- Humidity: High humidity levels slow the drying process. When moisture is present in the air, it will take longer for the paint to dry fully.
- Wind: Wind can also affect drying time. If it’s windy outside with a lot of air movement, the paint will dry faster.
With these factors in mind, the best time for line striping to dry the fastest is on a warm, dry, and breezy day. If you’re interested in our services, call us for a free estimate.
At PKS Paving, we prioritize efficient and meticulous work that minimizes disruption to your business. We’ll work around your schedule to deliver a quality and functional surface without compromising quality.

When Should I Restripe My Parking Lot?
Keeping your parking lot well-marked is essential for safety, efficiency, and compliance. Here are the key signs it’s time to restripe:
- Confusing Layout: If your lot’s layout is unclear or hard to navigate, it’s time to restripe for safe traffic flow.
- Outdated ADA Compliance: If your parking lot markings no longer meet ADA guidelines, it’s crucial to restripe to ensure accessibility and avoid potential penalties.
- After Sealcoating: New striping is needed after sealcoating to restore visibility and organization.
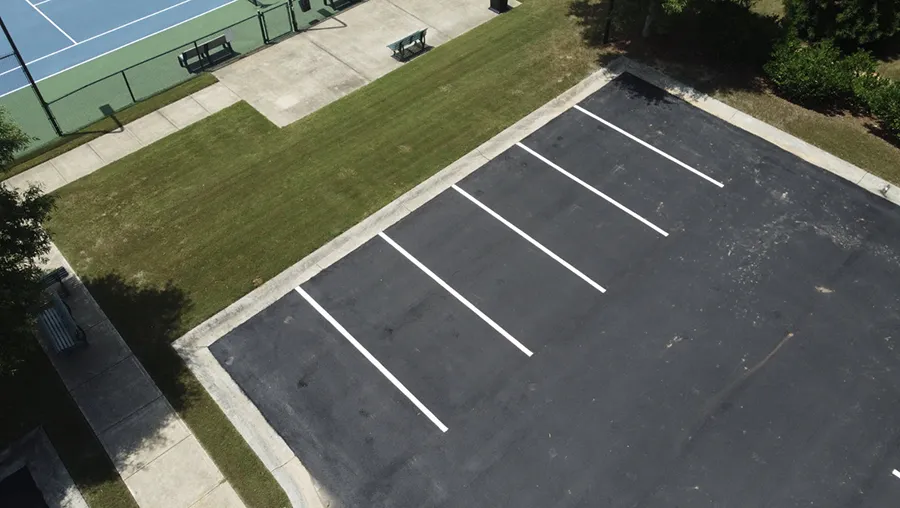
- Faded or Dull Lines: When lines are faded or worn, restriping improves both appearance and safety.
As a best practice, it’s generally recommended to restripe your parking lot every 18 months to 2 years.
Scheduling regular maintenance with us your parking lot striping contractors will keep your lot looking professional and ensure it remains safe and efficient for everyone using it.
Seal & Stripe with PKS Paving
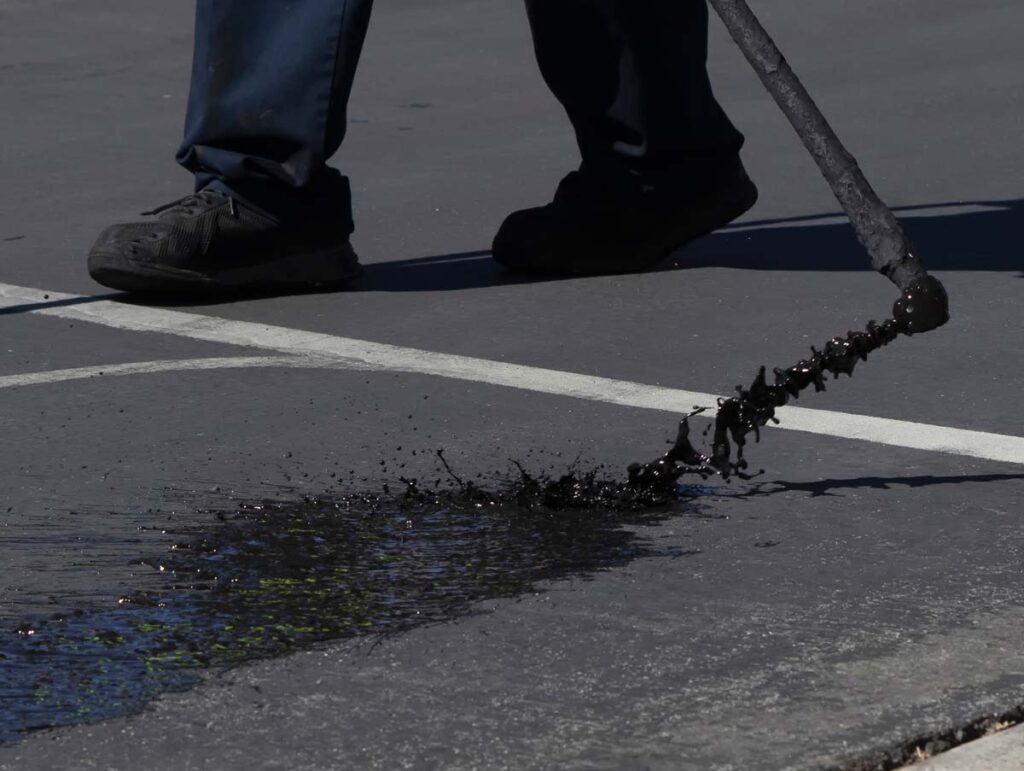
Sealcoating and parking lot striping services go hand in hand, often performed together for streamlined results. After sealant is applied to your pavement, it naturally covers any existing markings, requiring a fresh striping job
By scheduling a sealcoating every 2 years, adding striping is a simple and efficient solution. Our seal and stripe service saves your business time and money by minimizing downtime for business operations and simplifying the process.
At PKS Paving, we’re proud to offer this comprehensive service to our parking lot paving Atlanta clients, providing a freshly sealed blacktop and rejuvenated pavement markings all in one go.
Why Choose PKS Paving for Your Next Line Striping & Pavement Marking Project in Atlanta?
At PKS Paving, we combine decades of expertise with a focus on delivering precise, high-quality parking lot striping services to the Atlanta commercial sector. Our team uses state-of-the-art equipment and the best materials to ensure your parking lot paving in Atlanta looks professional and meets safety standards, all while minimizing disruption to your business operations.
What truly sets us apart is our commitment to cost-effective, customized services. We work with you to develop a tailored plan that fits your needs and budget, ensuring long-lasting results.
Our Coverage Areas
Atlanta's Go-To for Asphalt, Paving, and Maintenance Solution
Our Office
-
1340 North County Line Rd
Lithia Springs, GA 30122
